Crispy Panko Breaded Chicken Recipe
This panko breaded chicken recipe will quickly become your new favorite way to cook chicken!
A tender juicy chicken with a super crispy and crunchy panko breadcrumb coating.
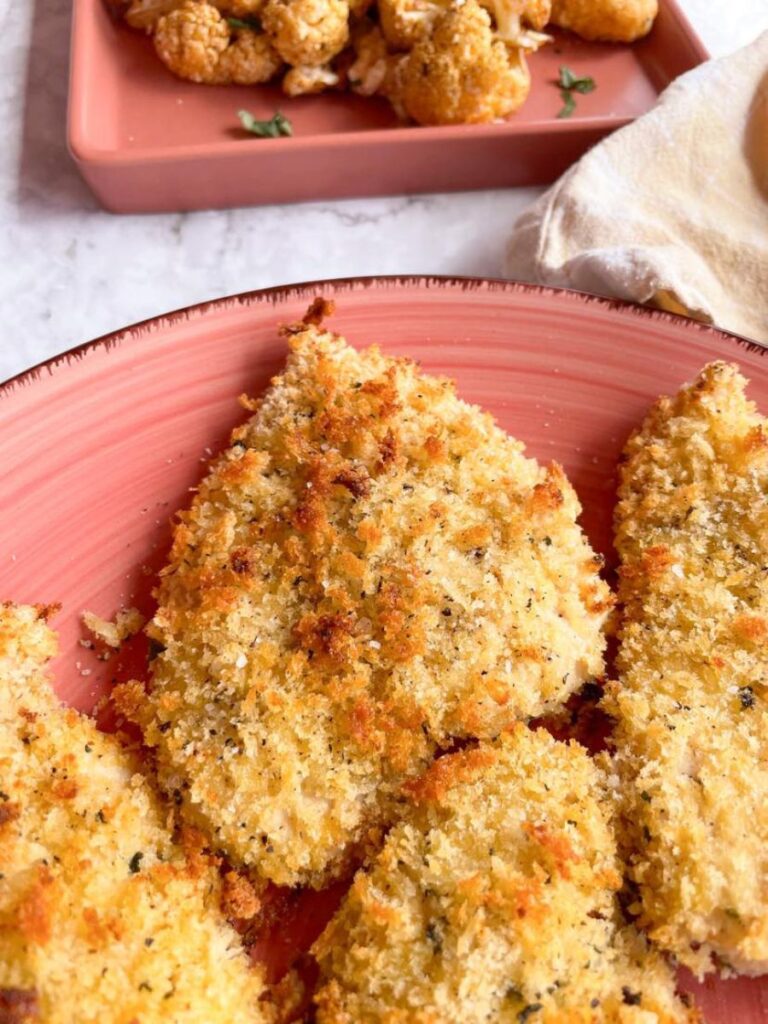
TABLE OF CONTENTS
Why You Will Love This Recipe
Crispy and Crunchy: The panko bread crumbs give the chicken an irresistible crispy texture to the chicken even when baked.
Easy recipe: This recipe is incredibly simple and requires minimal effort.
Healthy Baked Option: This recipe is baked, making it a healthier alternative.
Family-Friendly: Loved by the whole family, both kids and adults alike.
Quick Cooking Time: In just under 30 minutes, you can have a meal ready to serve.
How To Make Panko Chicken – Step by step
Step 1
Gather the ingredients. You will need boneless, skinless chicken breasts, panko bread crumbs, eggs, kosher salt, and black pepper.
Step 2
Preheat your oven to 400°F (200°C) and line a baking sheet with parchment paper or lightly grease it.
Step 3
Set up a breading station with two separate bowls. Whisk an egg in a shallow bowl.
Place a mix of panko crumbs, salt, black pepper, and chopped parsley in a second shallow bowl.

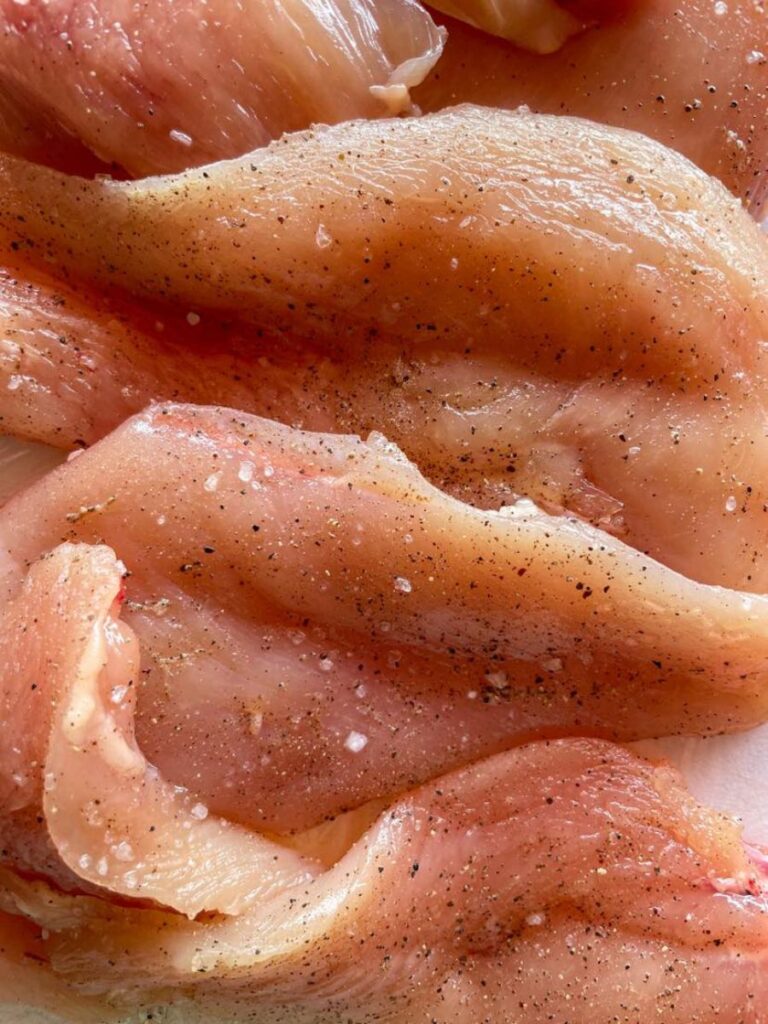
Step 4
Season the chicken breasts with salt and pepper.
Dip it into the egg wash, remove the excess egg, and then coat it with the panko mixture, pressing gently to adhere.
Step 5
Place the panko-breaded chicken on the prepared baking dish. Drizzle or spray the tops with a little olive oil.

Step 6
Bake in the preheated oven for 15-20 minutes, or until the chicken is cooked through and the coating is golden brown and crispy.
Best tips
- The chicken should not be too thin but not too thick either, about 1/2 inch thick.
- Use a kitchen thermometer to check the internal temperature of the chicken should be 165 degrees F for the perfect cooked chicken.
- Use a cooking oil spray, it helps to better distribute the necessary oil all over the chicken
- To prevent the coating from sticking to the baking sheet, use parchment paper or a silicone baking mat.
- For extra crispy chicken, you can lightly toast the panko breadcrumbs in a pan before coating the chicken.

Variations
For the preparation of this recipe, if you do not have chicken breast on hand you can also use chicken tenders or chicken thighs, indeed the result will be juicier.
Cooking Variations: Fry and Air Fryer
You can cook this chicken in different ways
Fry: Heat the oil (olive oil, vegetable oil, or peanut oil) in a large skillet over medium heat.
Cook the panko breaded chicken for about 4-5 minutes on each side or until golden brown and cooked through.
The result will be a super crispy panko chicken.
Air Fryer: Preheat your air fryer to 400°F (200°C).
Place the coated chicken breasts in a single layer in the air fryer basket. Cook for 12-15 minutes, flipping halfway through.
Season Variations
Here are a few ideas to give extra flavor:
Italian Style: Mix parmesan cheese, minced garlic or garlic powder, parsley salt, and pepper to the crumb.
A twist on the Italian chicken cutlets, where instead of regular breadcrumbs we use panko.
Spicy Cajun: Add Cajun seasoning to give a spicy kick.
Lemon Herb: Mix lemon zest with minced fresh herbs like rosemary, thyme, and parsley and add to the panko.
HOW TO STORE AND REHEAT
If you have any leftovers, store them in an airtight container in the refrigerator for up to 3 days.
To reheat, place the chicken on a baking sheet and warm it in a preheated oven at 350°F (175°C) for about 10 minutes or until heated through.
WHAT TO SERVE WITH
As a favorite side to this crispy breaded chicken, I like to pair it with some air fryer cauliflower, Asian Broccoli, a delicious Italian potato salad, Italian roasted potatoes or simply boiled potatoes.
Alternatively, you can turn the breaded chicken into a delicious Italian-style sandwich.
Just take ciabatta bread, add tomato slices, a little pesto, and a generous amount of mozzarella cheese.
FAq’s
How do I make sure the chicken stays juicy?
Avoid overcooking. Use a meat thermometer to check the internal temperature, which should reach 165°F (74°C) for chicken.
Can Panko Be Used In The Oven?
Yes, panko can and absolutely should be used for baking. I often use it for chicken or pork, but also to make vegetable gratin or casserole.
crispy baked panko breaded chicken recipe

CONNECT WITH THE BELLA VITA!
Be sure to follow me on social media, so you never miss a post!

Panko chicken recipe
Ingredients
- 1 pound chicken breasts
- 2 cup panko bread crumbs
- 1 egg
- 1/2 teaspoon salt
- 1/4 teaspoon black pepper
- 1/2 teaspoon chopped parsley
- Olive oil
Instructions
- Preheat the oven to 400°F (200°C). Line a baking sheet with parchment paper and lightly coat it with cooking spray.
- In a shallow bowl, combine panko bread crumbs, chopped parsley, salt, and black pepper. In another bowl beat the egg.
- Dip the chicken into the beaten eggs, allowing any excess to drip off. Then, press the chicken into the panko mixture, coating both sides thoroughly.
- Place the coated chicken breasts on the prepared baking sheet. Lightly spray the top of the chicken with cooking spray.
- Bake in the preheated oven for 15-20 minutes or until the chicken is cooked through and the coating is golden brown and crispy.


Panko chicken and panko pork chops I made both as allergic to beef products Alpha Gal used dip chicken first cook different pan then dipped the pork chops they turned out fantastic my hubby who is extremely picky loved them as for my chicken absolutely delicious and different taste in the chicken try this recipe you will love and so easy to make